


How To Mend A Puncture On An Electric Bike
You might be wondering, if you can fix a puncture on a regular bike then can you just as easily mend a puncture on an eBike?
Whilst the best advice is to try and avoid a flat tyre in the first place, it’s something that avid riders will experience at some point. There are many things you need to consider when you’re amending a puncture on an electric bike – such as the type of valves you will need, the size of the tyre plus much more.
Read on for our top tips on repairing a puncture that every eBiker should know.
Removing the Tyre
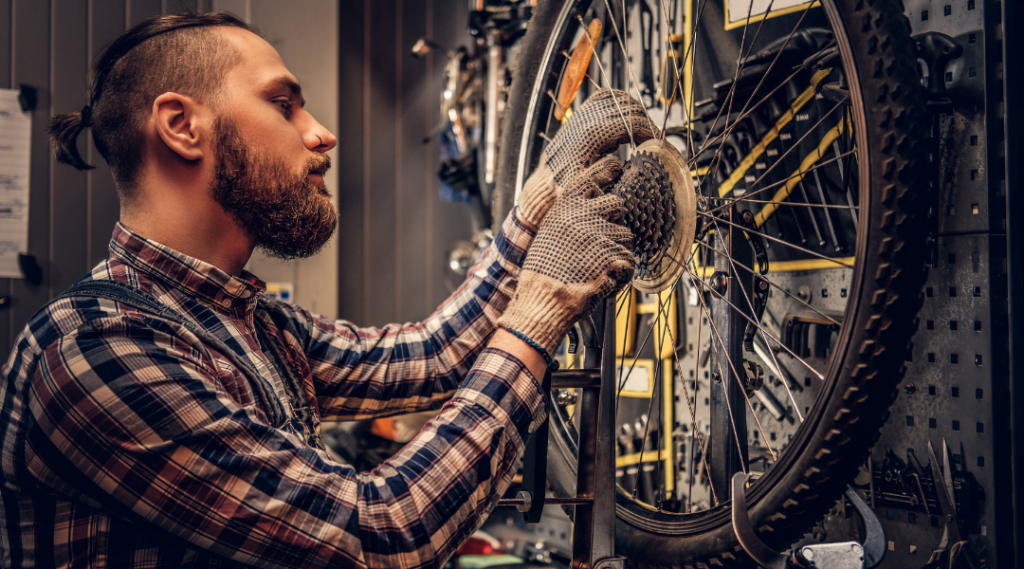
The first step you must do when repairing a flat tube is remove the tyre. Some tyres have a quick release where you have the handle on there and you simply undo the handle and it will drop out. But an electric bike has the axles bolted on, so you will need a wrench adjusted to the right size to loosen the bolts. Loosen them enough so that you can hand tighten them later on.
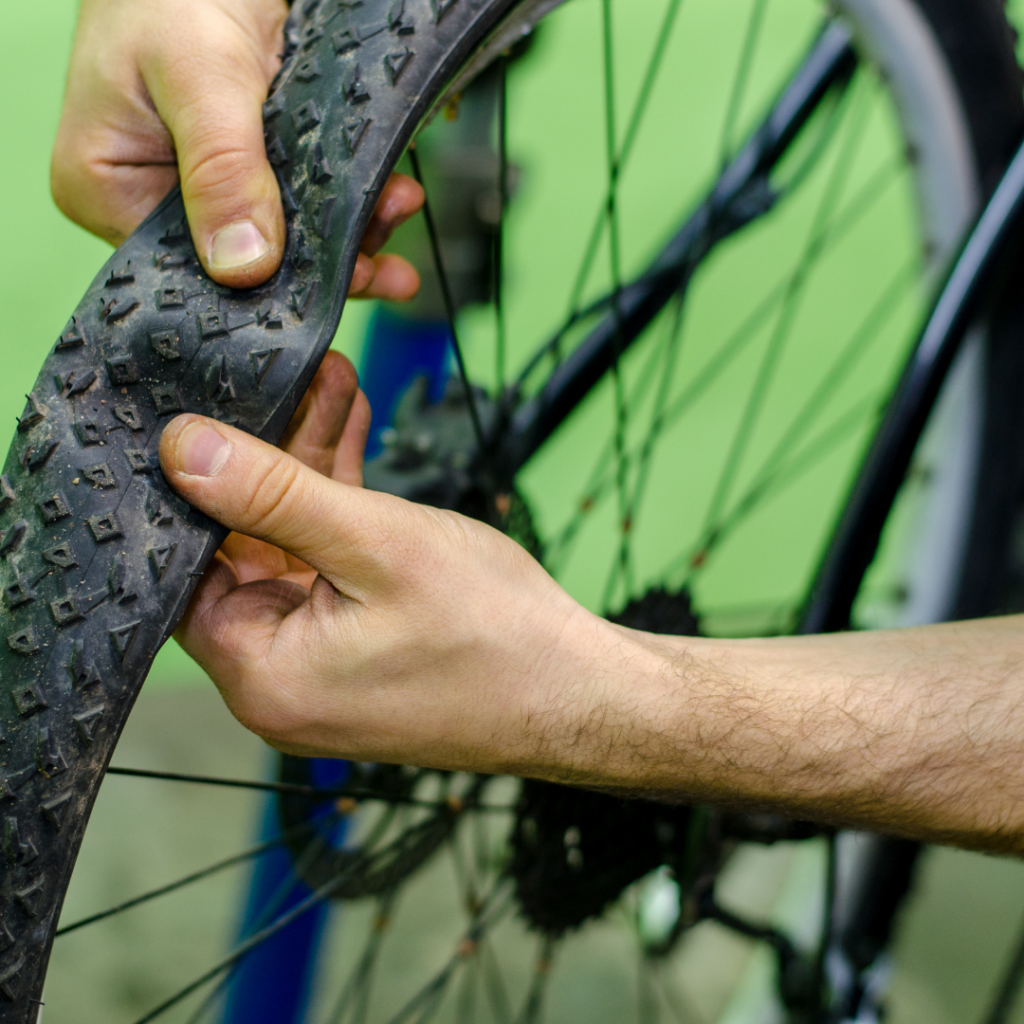
Once the wheel has dropped out, make sure you lay it out so that the rotor is right-side up. You shouldn’t bend the rotor otherwise you will hear some splicing noises which isn’t good for the bike. Now, grab your tyre levers and lift the wheel up right-side-up which drops the lower rim down. This will give you some slack to get the tyre out of the bead, then repeat on the other side.
You will notice that the valve is still in there, so remove the cap and press the tyre up and out. Now everything is off, you need a new tube with the correct circumference and width. You can purchase a tube at any bike shop at a reasonable price so we highly recommend you stock up on them for emergencies.
Replacing the old tyre
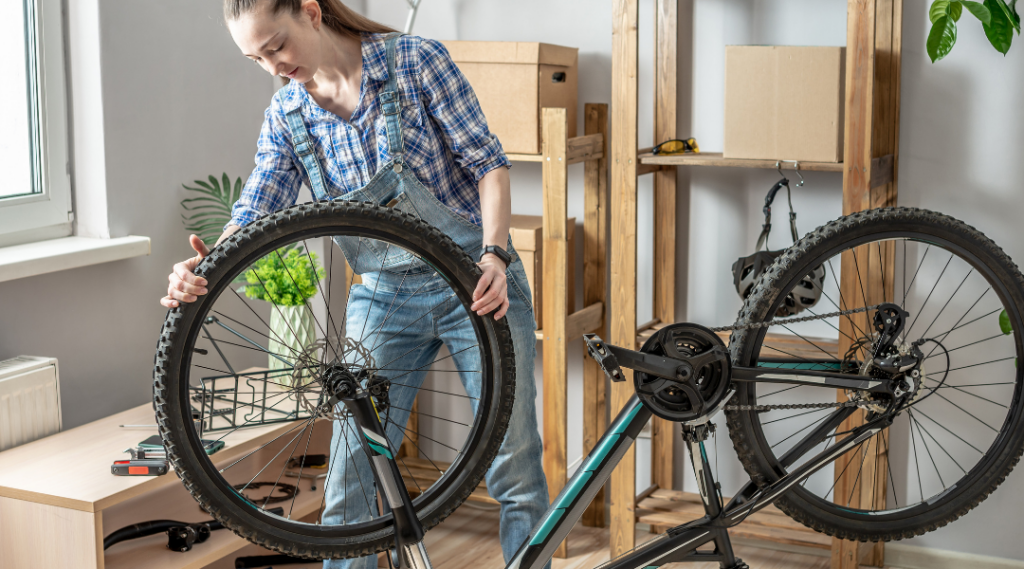
Next, use an air pump to give the tube more shape so it will mould inside the tyre better. Before you continue, it’s essential that you thoroughly check the inside of the tyre so that there are no thorns or anything that could flatten the tube again. Once those checks are done, put the wheel back into the tyre – ensure this goes on the right way!
Put the wheel on the inside of the tyre and massage the bottom so it starts to fit, then lay it down and grab the new tube. Ensure the valve hole is straight up, that way you can drop the tube in easier. Put the tube in all the way around the wheel and look for the hole that will align with the valve.
Continue to massage the tyre so it fits nicely with the wheel. An effective way of doing this is resting the weight of the wheel on your waist, and using your hands to massage around the tyre. All that’s left with the tyre is to inflate it now, but one main variable with inflating tires especially with ones that hold so much volume is how much air pressure you need to run.
Final stage/Variables to watch out for
There are a few variables with how much air pressure is required. Firstly, how much you weigh as a rider. The heavier you are then the more air pressure you will need for your tyre to compensate for the weight. Next, you need to be aware of the terrain you like to ride. If you like bike riding on gravel roads, you may need to use low air pressure so that it will absorb the rough ground. Bare in mind that you might be at more risk of catching a flat tyre on these rough terrains.
When inflating your tyre you need to be aware that there is a chance it’s going to come off the inside of the bead. If you don’t pay attention to this you will hear a big bang, and you will have to restart this whole process. Once the tyre is pumped up, you can put the valve cover back on, and give it a bounce test to see if it’s holding into place and has some air to it.
Hold both nuts on either side of the tyre, slowly raise it back in lining it up with the calliper. Then tighten the nuts with the wrench. That’s it – all done, It’s not too hard is it?
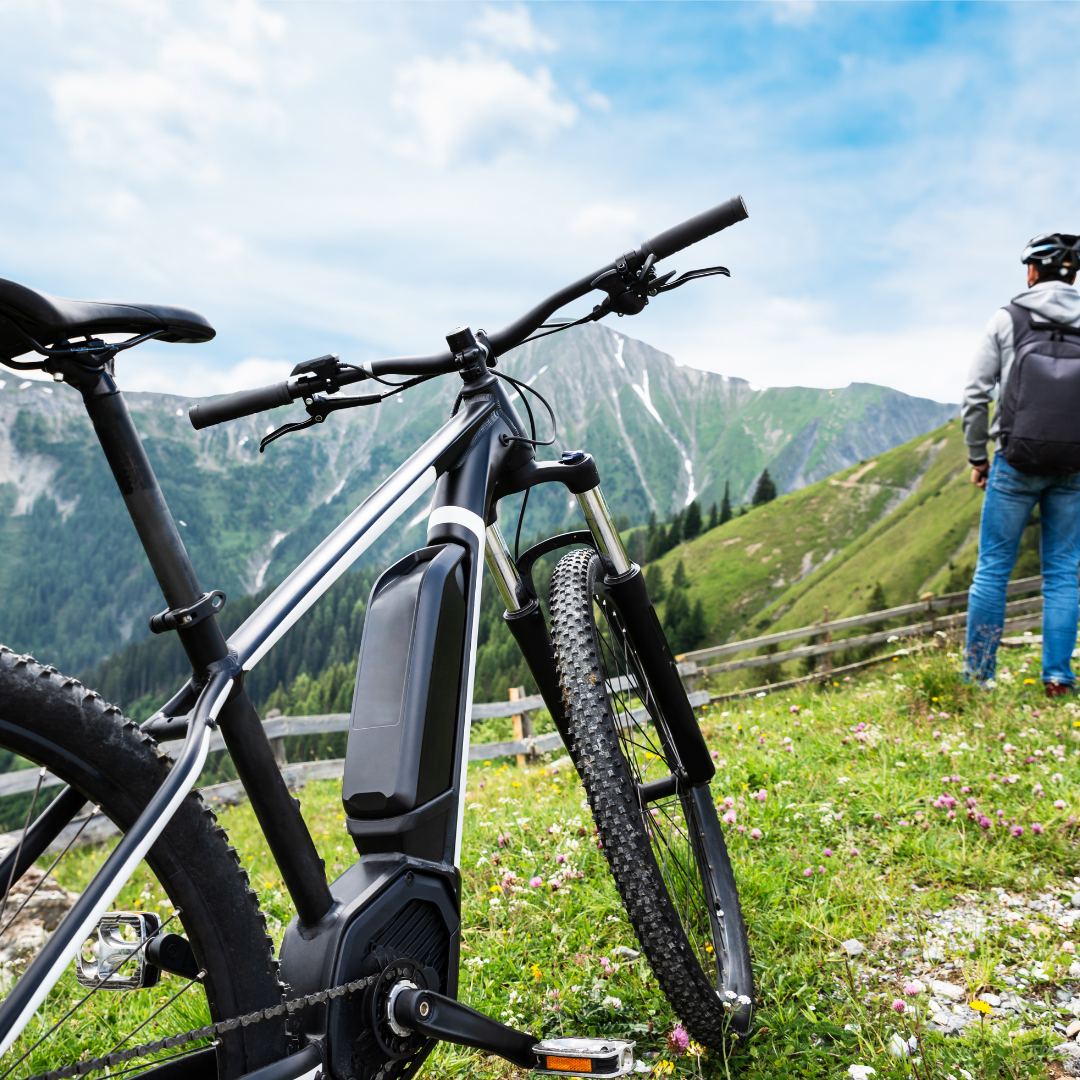
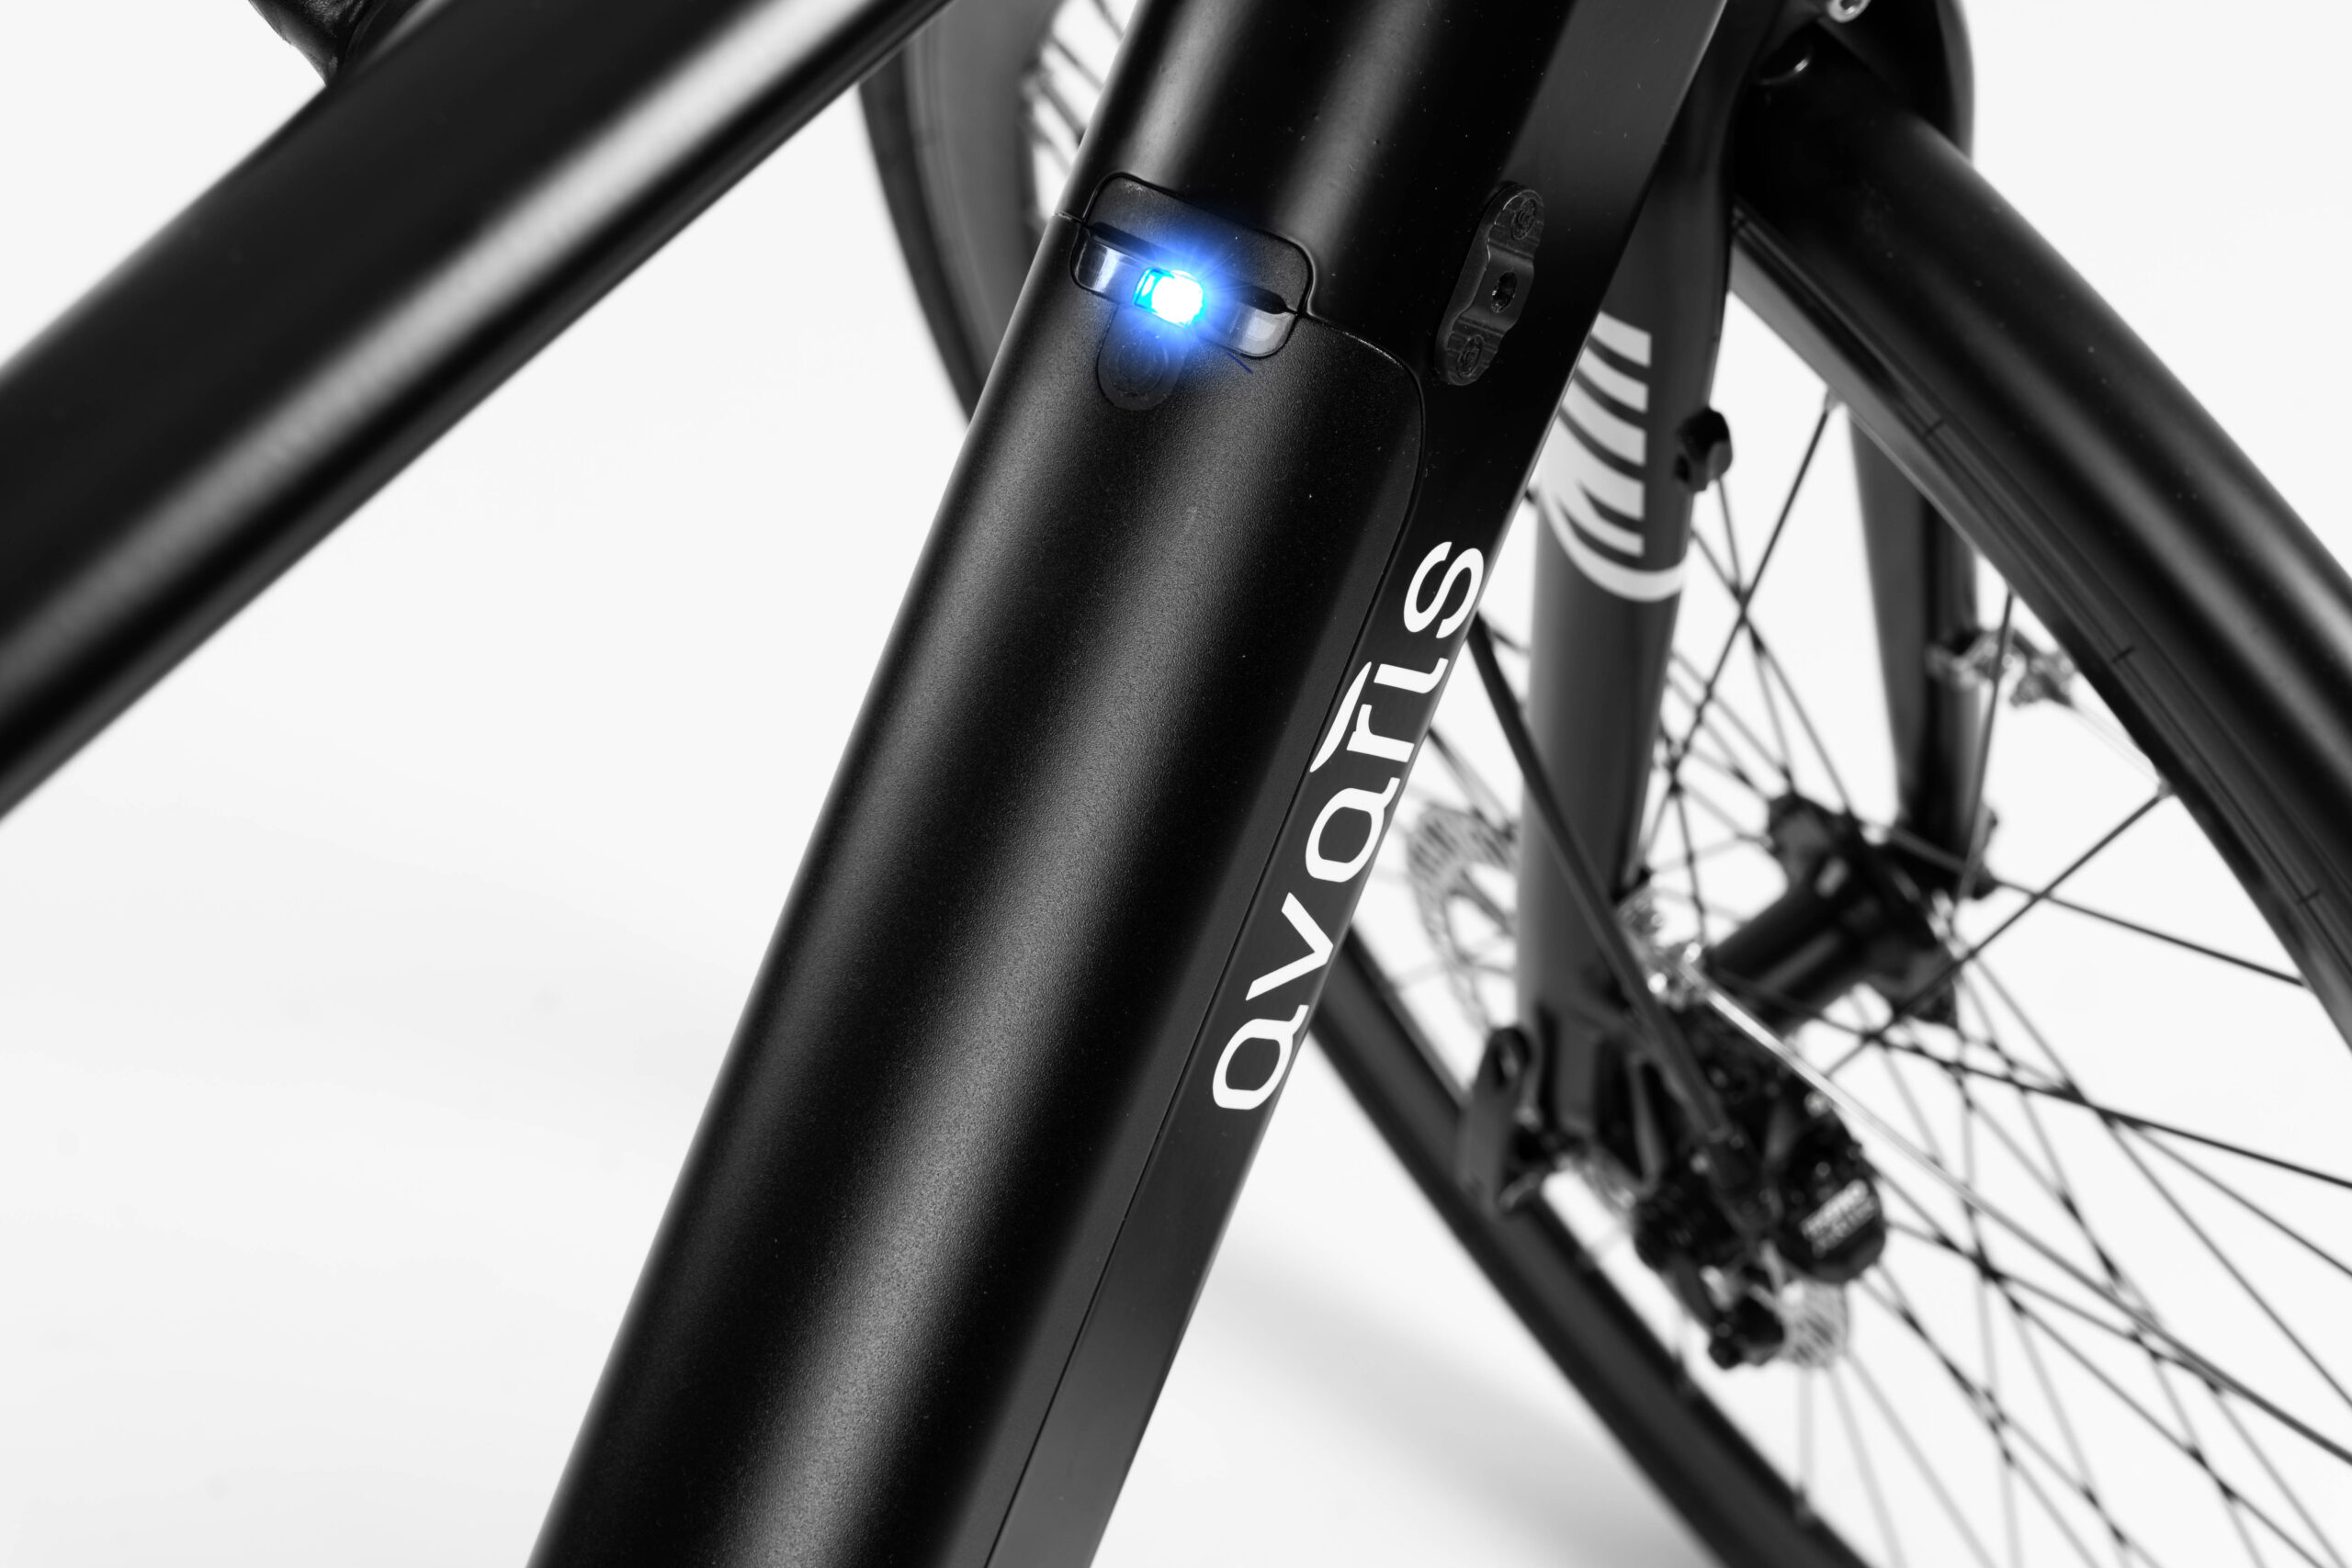
To help avoid flat tyres in the future, ride carefully and invest in a good quality eBike that can stand the test of time. The Avaris eBike comes fitted with deep-rimmed aerodynamic Kendra tyres, built to withstand the roughest road surfaces. Click here to visit the shop.